Setting up a dedicated charging station for your devices is a simple way to keep your home organized and ensure all your gadgets stay powered. Whether you have smartphones, tablets, smartwatches, or wireless earbuds, a charging station helps reduce clutter and streamlines your daily routine. In this guide, you’ll learn how to set up a practical and efficient charging station that fits your needs.
Why Create a Charging Station?
With the number of devices we use daily, charging cables and adapters can quickly become tangled and messy. A charging station provides a central place to keep all your devices charged, preventing lost cables and reducing clutter. It’s also safer, helping prevent overheating and minimizing the risk of damage to cords and devices.
What You’ll Need
Before you begin, gather the following materials and tools:
– Power strip or multi-port USB charger
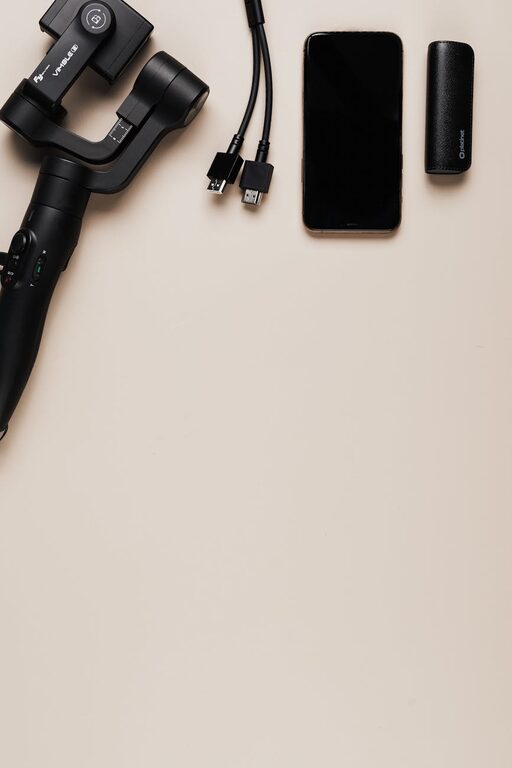
– Charging cables (USB-C, Lightning, Micro USB, etc.)
– A sturdy surface or a designated box/stand
– Cable organizers or clips
– Labels or tags (optional)
– Small containers or trays for accessories
Step 1: Choose the Right Location
Pick a convenient and accessible spot in your home where you typically charge devices. Common places include:
– A desk or office area
– Entryway table or console
– Nightstand or bedroom dresser
– Kitchen counter or island
Make sure the location has easy access to power outlets, is well-ventilated, and is out of reach of small children or pets.
Step 2: Select Your Charging Hardware
Power Strips vs. Multi-Port USB Chargers
– Power Strip: Useful if you have many different adapters and need to plug in traditional power bricks.
– Multi-Port USB Charger: Ideal if your devices charge via USB; they often have multiple ports with fast charging options.
Look for chargers with surge protection and enough ports to support all your devices simultaneously.
Charging Cables
Gather the cables you need to charge all your devices. Having all cables in one place reduces frustration and misplaced cords.
Step 3: Organize Your Cables
Cable management is key to a tidy charging station.
– Use cable clips to secure cables neatly along the desk or charging station surface.
– Velcro straps or twist ties help keep excess cable length under control.
– Consider a cable organizer box with holes that allow cables to come through for a cleaner look.
Step 4: Arrange Devices and Accessories
Designate specific spots for each device within your charging station.
– Use small containers or trays to hold accessories like earbuds, charging adapters, or memory cards.
– For devices that commonly stay docked (like smartwatches or wireless speakers), use compatible stands or docks for stability and easy access.
Step 5: Add Labels (Optional)
If you have many cables or multiple users, labels help identify which cable belongs to which device. Use small tags or washi tape with permanent marker to keep things clear.
Step 6: Maintain Your Charging Station
To keep your charging station effective:
– Regularly inspect cables for wear or damage.
– Remove devices when fully charged to save energy.
– Dust and clean the area often.
– Update charging hardware as needed to keep up with new devices.
Bonus Tips for a Smarter Charging Station
– Use a charging station with built-in wireless charging pads for compatible devices to reduce cables.
– Consider smart outlets or chargers with timers to avoid overcharging.
– For public spaces or offices, set up signage to encourage organized charging habits.
Conclusion
Setting up a well-organized charging station simplifies your tech routine, prevents clutter, and ensures your devices are always ready to go. With a bit of planning and the right tools, you can create a charging hub tailored to your home and lifestyle. Start small, keep it tidy, and enjoy the convenience of having all your devices charged in one place.